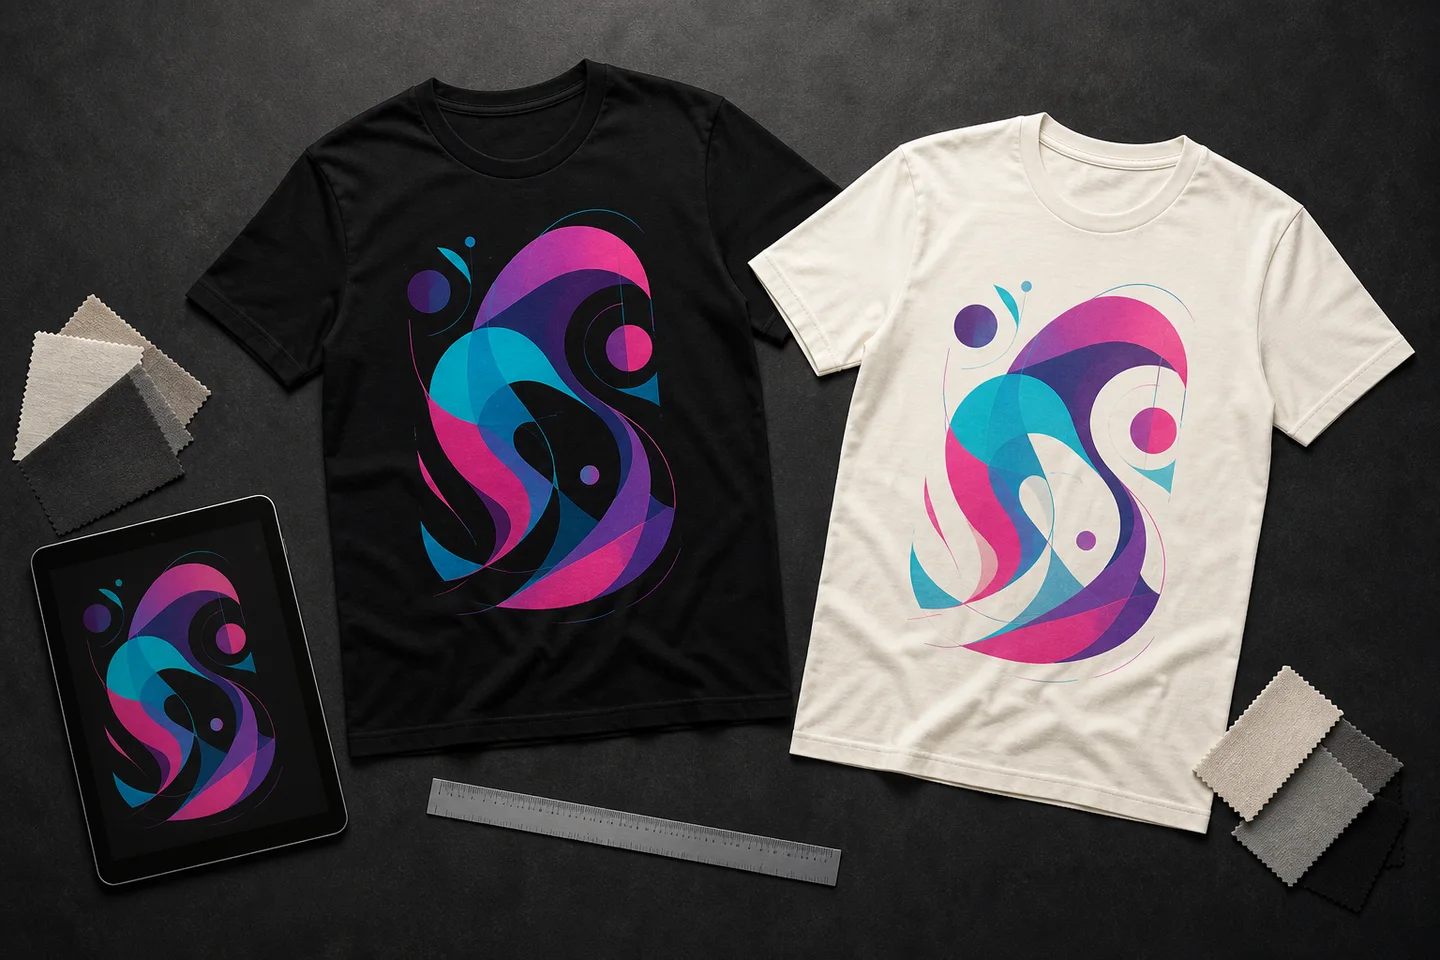
1. Start with the shirt and printable area
Choose the product before opening the design canvas. A left-chest mark, a standard front graphic and an oversized back print use different proportions and visual weight. The garment size range, print method and provider template can also change the available area.
Open the current template for the exact product you plan to sell. Record the recommended pixel dimensions, accepted formats, file-size limit, safe area and any color-profile guidance. Provider specifications are the final requirement; examples in a general guide are planning aids, not replacements for that template.
- Product and garment color
- Print location: left chest, center front, full front or back
- Printable width and height from the current provider template
- Accepted file format, transparency rule and maximum file size
- Safe margins around seams, collar, pocket and important details
2. Choose a canvas for the intended size and placement
Work backward from physical size. Multiply the intended print width and height in inches by the target DPI to get a pixel planning target. A 12 × 16 inch print at 300 DPI is 3600 × 4800 px. A 15 × 18 inch print is 4500 × 5400 px. Keep the design inside the provider safe area instead of stretching it to every edge.
Placement should follow the visual center of the artwork, not only the center of its invisible canvas. Empty transparent pixels, a long flourish or an off-center character can make a mathematically centered file look wrong on the garment. Trim unintended empty space, then judge the composition on a shirt mockup.
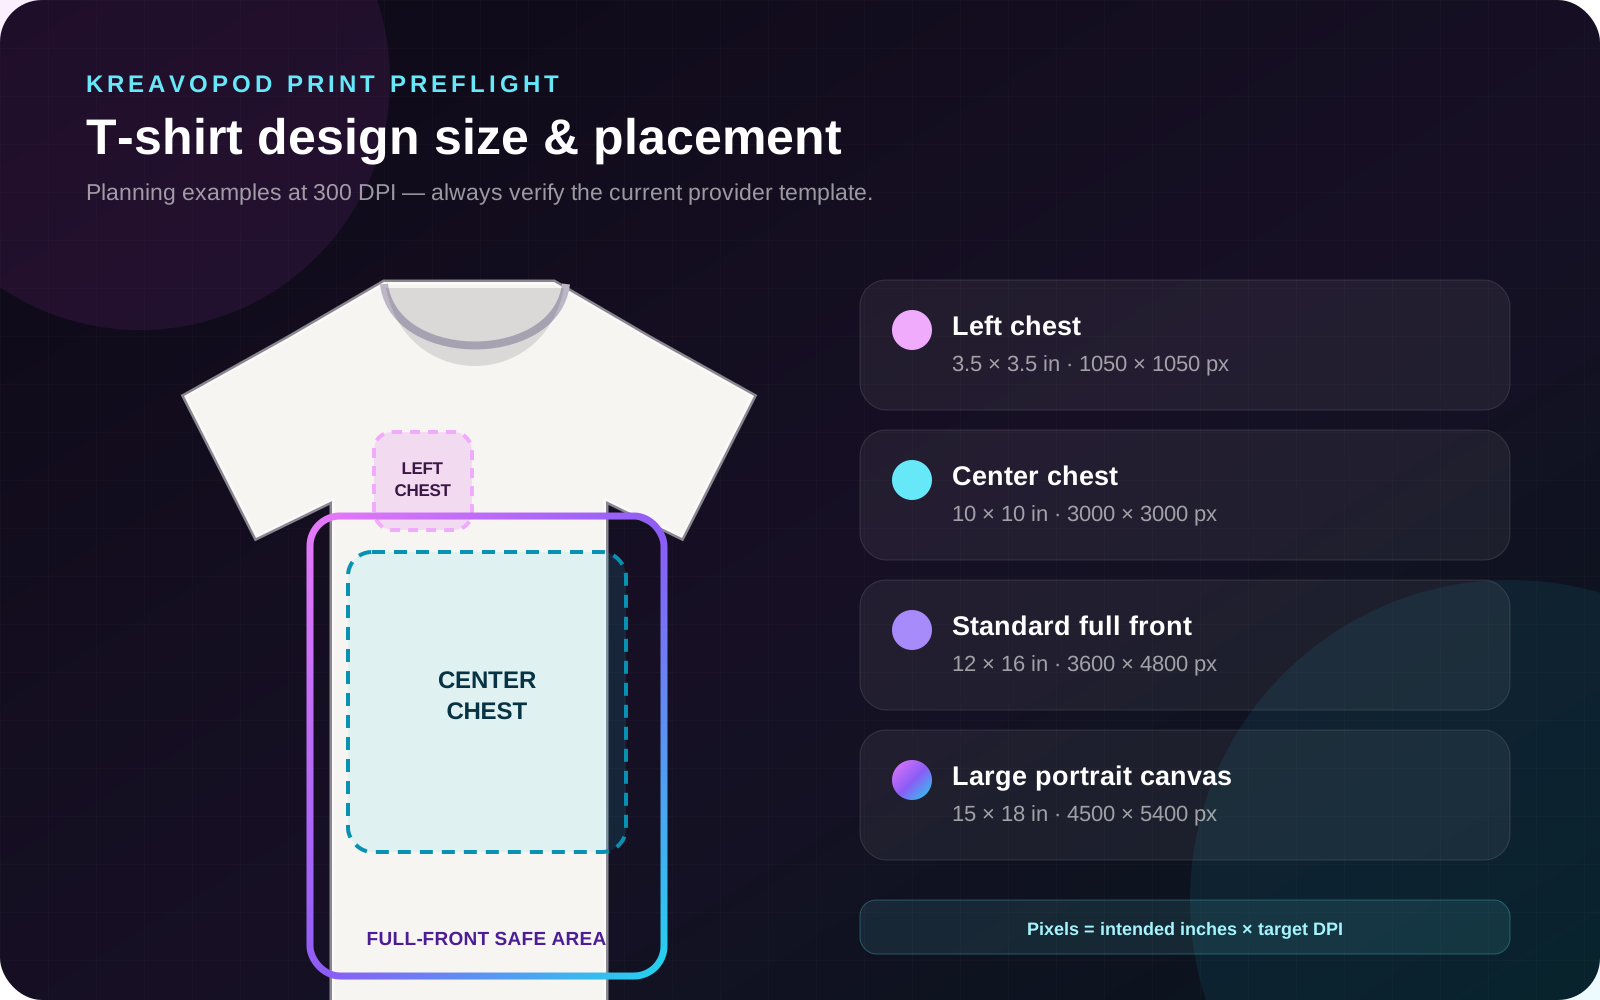
| Placement | Planning size | Pixel dimensions at 300 DPI | Use it for |
|---|---|---|---|
| Left chest | 3.5 × 3.5 in | 1050 × 1050 px | Small marks, initials and compact emblems |
| Center chest | 10 × 10 in | 3000 × 3000 px | Square badges and balanced typographic locks |
| Standard full front | 12 × 16 in | 3600 × 4800 px | Portrait illustrations and stacked type |
| Large portrait canvas | 15 × 18 in | 4500 × 5400 px | Large POD artwork when the provider area supports it |
3. Build a product-aware design brief
Define the audience, message and visual structure before generating or arranging artwork. A usable brief names the product, print location, main subject, exact text, palette and background requirement. It should also state what the image must not contain, including mockup fabric, watermarks, unrelated logos or an accidental background.
Create several genuinely different compositions rather than many color versions of one weak idea. Compare a bold typographic lockup, a character-led direction and a compact emblem. Choose the structure that communicates fastest on the shirt and at thumbnail size.
- Audience and buying moment
- One main message or visual idea
- Exact spelling for any lettering
- Composition shape matched to the print area
- Limited palette tested against planned garment colors
- Isolated artwork request when the output is meant for printing
4. Design online, then inspect outside the editor
Use an online design tool to generate, arrange or refine the artwork, but download a test file early. Editor previews can hide small source dimensions, compression, spelling mistakes and soft edges. Inspect the actual file at 100% zoom and record its pixel width and height.
Check lettering character by character. Inspect hands, faces, repeated objects, thin outlines and small decorative marks. If the composition or wording is wrong, edit or regenerate it before enlarging. Upscaling a mistake makes a bigger mistake; it does not repair the idea.
- Read the design at approximately 200 px wide to simulate a listing thumbnail.
- Preview it on black, white and at least one saturated garment color.
- Remove elements that disappear or merge at normal viewing distance.
- Confirm that the design is original and does not rely on protected characters, logos or copied artwork.
5. Prepare the PNG or vector master for printing
Use a transparent PNG for full-color raster artwork when the garment needs to show around the design. Use a true vector master for clean paths, simple shapes or lettering that benefits from scalable editing, then export the format required by the provider. Renaming a file does not convert its structure.
Remove an unwanted background and inspect the alpha edge on light and dark colors. Look for white halos, dark fringes, stray pixels and accidental holes. If the source is too small but otherwise clean, run one purposeful upscale and inspect the result again; do not stack repeated enlargements.
- Real pixel dimensions support the intended print inches.
- Transparent areas are truly transparent, not white or checkerboard pixels.
- No watermark, mockup texture or unintended garment remains in the production file.
- Fine outlines and texture remain usable after any upscale.
- The exported file reopens correctly in another viewer.
6. Calculate effective DPI at the actual print size
Effective DPI equals the number of pixels divided by the physical inches. A 3600 px-wide file printed 12 inches wide provides 300 pixels per inch. The same file printed 15 inches wide provides 240 pixels per inch. Changing a 72 DPI label to 300 DPI without adding pixels does not create more detail.
Use the provider recommendation and the real viewing conditions for the product. A bold graphic may remain usable at a lower effective density than tiny lettering, but the final decision belongs to the provider template and a careful visual inspection of the exported artwork.
Practical note: Do not enlarge a design merely to reach a familiar number. Preserve the aspect ratio, inspect the source quality and stop when extra pixels no longer add usable detail.
7. Use a mockup to proof scale, placement and color
Place the artwork on the same shirt style and color family you plan to list. Check its distance from the collar, visual centering and apparent size on more than one garment size when possible. A graphic that looks balanced on a small mockup can appear too low or too narrow on a larger garment.
Keep the mockup honest. Do not display an oversized print, metallic effect or edge-to-edge result that the production method cannot reproduce. The mockup is a placement and presentation check; it is not the print file itself.
- Design does not collide with the collar, seams or pocket.
- Scale looks deliberate rather than stretched to fill the maximum area.
- Contrast works on every garment color offered in the listing.
- Small text remains readable at marketplace-thumbnail size.
- Mockup appearance matches the production method and available print area.
8. Run the final T-shirt export preflight
Export a fresh file from the cleaned master, then reopen that exact export. Compare its pixel dimensions and aspect ratio with the current product template. Preview it on both light and dark backgrounds, and keep the editable master separate from product-specific exports.
- Correct product, print location and current provider template
- Correct pixel width, height, aspect ratio and file-size limit
- Verified spelling and no unintended AI artifacts
- Clean transparency with no halo or opaque rectangle
- Important elements inside the safe area
- Placement and contrast checked on a realistic mockup
- Exact final export reopened and inspected before upload
Practical note: Provider templates and production options change. Save the date and product name with each export so an old file is not assumed to match a new specification.
Frequently asked questions
What is the best pixel size for a T-shirt design?
Use the current template for the exact product and print location. A 4500 × 5400 px portrait canvas is a useful large planning example, but left-chest, youth, back-print and provider-specific areas require different dimensions.
Does a T-shirt design have to be 300 DPI?
Follow the provider's current requirement. Calculate effective DPI by dividing pixels by intended print inches; changing metadata from 72 to 300 DPI without adding pixels does not improve detail.
Should a T-shirt design be PNG or SVG?
Transparent PNG is usually practical for full-color raster art, texture and gradients. A true SVG or other vector master is useful for clean paths, simple shapes and scalable lettering. Export the format accepted by the provider.
Do T-shirt designs need a transparent background?
Isolated garment artwork usually needs transparency so the shirt color shows around it. Full-bleed rectangles, posters or deliberately framed artwork may keep a background. Check the product template before removing it.
Can I use AI-generated artwork for print-on-demand T-shirts?
You can use suitable original artwork when the generator terms, marketplace rules and relevant rights allow it. Inspect spelling and artifacts, avoid protected characters or copied work, and verify the exact production file before listing.
Build the T-shirt workflow in KreavoPod
Move from a product-aware idea to artwork, background cleanup, upscaling, mockups and listing preparation in one connected workspace.
Open resource →